Yoga for Lower Back Pain
Back pain especially lower back pain is a literal pain in the back side…
Seriously though its something that 80% of people are estimated to have issues at one time or another. While there can be many causes (injury, posture, poor mechanics etc) lower back pain is often a result of muscular imbalances, inflammation and can be implicated by a poor diet. In this video you will learn a simple Kendalini yoga set to loosen up, bring in more blood flow, healing and flexibility to your lower / mid back to give back pain relief.
I hope you enjoy the video, be sure to look below for much more detailed info / instructions and others video posts I have done on the subject of back pain and yoga.
This video offers a simple Kendalini exercise set to introduce you to Kundalini Yoga. One of the most important factors in a healthy youthful body is to maintain a flexible spine. Yogis often say that ones youth is determined by the flexibility of the spine.
Both lower back and upper back stress are some of the most common health complaints of adults. The best way to avoid backaches is to take care of your spine on a daily basis. Look to natures acrobats, cats, they stretch their spine and body often usually when they get up and are about to lay down, we could learn a lot from them. While there are no true quick fixes for back pain (except possibly chiro if out of alignment), this exercise set is an effective maintenance program especially coupled with The McGill Big 3 part one and part two exercises.
To Begin
Sit quietly in a easy cross legged pose, left leg in front and be with your breath. Consciously slow down the breath and breathe from the belly. Be with the sensations in your body. Tune into your own rhythm. Allow a few minutes to calm down, center yourself and create your own space.
Exercises
1: Sufi Grind/Pelvic Rotation:
Sitting in a comfortable cross-legged position with your hands on your knees, begin circling the upper body in a clockwise direction while keeping your back straight. Make small circles to begin and slowly work your way to wider circles, the focused movement on the pelvis / lower back. To connect your movement with your breath, exhale as you round forward and inhale as you round backward. Allow your head and shoulders to relax and find a comfortable rhythm with your breath. If you wish you can place your hands on your shoulders or in prayer position over head.
Stay in this pose for 1.5-3 minutes before starting to slowly bring your circles closer to the center mid-line of the body, making smaller and smaller movements until you stop completely.
Sit up tall and take a deep breath in and out.
Benefits: This exercise opens up the sacrum, hips and loosens the lower back by bringing extra blood flow and heat.
2: Rotate the Pelvis
Sit in easy pose. Place the hands on the knees. Deeply roll the pelvis around in a grinding motion. This can take some practice as most people have a stiff lumbar spin. Pretend you are a belly dancer or that you have a pencil coming out of your navel and your are trying to draw circles perpendicular with the floor. Relax into the movement exhaling as you contract and inhaling as you expand. Make it a moving meditation.
Stay in this post for 15 – 26 rotations or 1- 2 minutes
Benefits: This exercise opens up the energy in the lower spine, massages the internal organs and aids in digestion.
****Repeat movements 1 + 2 in a counter-clockwise direction****
3: Spinal Flex
Sit on the heels; place the hands flat on the thighs. As you inhale powerfully, flex the spine backward as if drawing a large bow or a kneeling cow pose, exhale and release the spine forward as if your doing a kneeling cat pose. Keep the shoulders relaxed and the head straight resisting the urge to move the head up and down as if your a head banger. Continue rhythmically with deep breaths.
Stay in this pose 1-3 minutes or up to 108 times.
Benefits: This exercise works on the mid spine and heart chakra
4: Pigeon Pose
Coming out of your kneeling position, slide the right knee forward toward your right hand. Angle your right knee at two o’clock. Slide your left leg back as far as your hips will allow keeping your hips square to the floor. If your hips are not square, there will be unnecessary force on your back, and you won’t be able to open the hips to their fullest.
If you’re not feeling a deep stretch in your right glute, slide the right foot forward–little by little–toward your left hand, with practice, bring your foot parallel with the front edge of your mat. Your right thigh should have an external rotation, and your left thigh should have a slight internal rotation. This keeps pressure off the knee cap.
Depending on how you feel, you will be upright on your hands while sinking the hips forward and down. Level two will rest on their forearms, and level three will rest the chest on the floor with the arms fully extended in front of you. To get full release in the hips, breathe and release the belly. Stay in this position anywhere from 10 breaths to 5 minutes.
Benefits: When done properly and consistently pigeon pose can stimulate the internal organs, stretch deep glutes, stretch groins and psoas (a long muscle on the side of your vertebral column and pelvis), relieve impinged piriformis and alleviate sciatic pain and help with urinary disorders.
Butterfly Pose
Sit with your legs straight out in front of you, raising your pelvis / bottom on a blanket if your hips or groins are tight. Exhale, bend your knees, pull your heels toward your pelvis, then drop your knees out to the sides and press the soles of your feet together. Bring your heels as close to your pelvis as you comfortably can. With the first and second finger and thumb, grasp the big toe of each foot. Always keep the outer edges of the feet firmly on the floor. If it isn’t possible to hold the toes, clasp each hand around the same-side ankle or shin. Lightly flap your wings (your legs) up and down slowly gaining momentum while never wrenching or causing any pain.
Never force your knees down. Instead release the heads of the thigh bones toward the floor. When this action leads, the knees follow.
Stay in this pose either statically (still) or dynamically (with the flapping legs) anywhere from 1 to 3 minutes.
Benefits : Butterfly pose Improves the flexibility in the groin and in the hip region and gives a good stretch for inner thighs, groins and knees. It is also beneficial for the reproductive organs and especially for pregnant women.
Reclined Butterfly Pose
From butterfly pose exhale and lower your back toward the floor by first leaning on your hands. Once you are leaning back on your forearms, use your hands to spread the back of your pelvis and release your lower back and upper buttocks through your tailbone. Bring your torso all the way to the floor, supporting your head and neck on a blanket roll or bolster if needed.
The natural tendency in this pose is to push the knees toward the floor in the belief that this will increase the stretch of the inner thighs and groins. But especially if your groins are tight, pushing the knees down will have just the opposite of the intended effect: The groins will harden, as will your belly and lower back. Instead, imagine that your knees are floating up toward the ceiling and continue settling your groins deep into your pelvis. As your groins drop toward the floor, so will your knees, if desired place cushions under your knees.
To come out, use your hands to press your thighs together, then roll over onto one side and push yourself away from the floor, head trailing the torso.
Stay in this pose for 1 – 5 minutes gradually extending your stay by practicing while you lay down to relax / before bed or before you get out of bed.
I really hope you enjoy this simple Kendalini Yoga set to help with low back pain, keep reading below for more info / exercises that I have really found to be helpful with lower back pain.
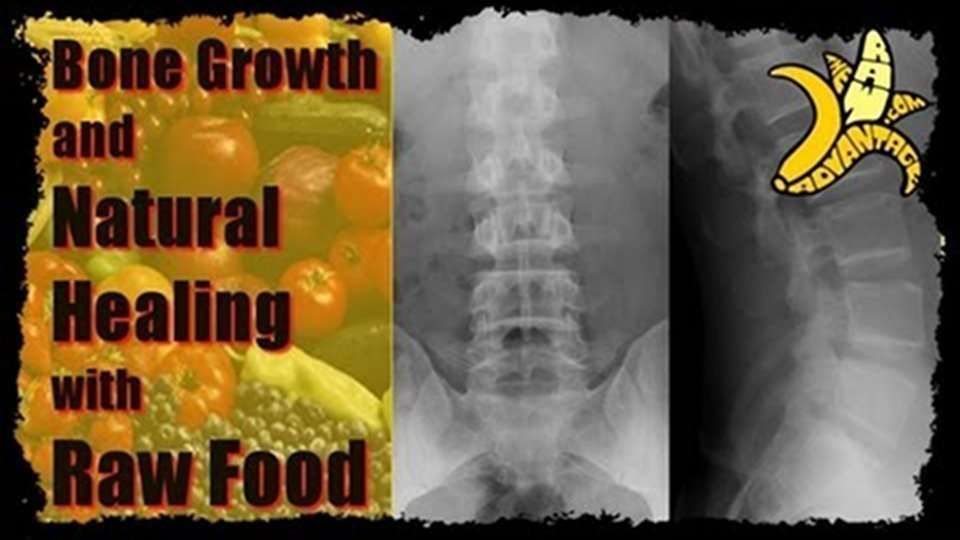
 Check my video on Bone Regrowth with Raw Food

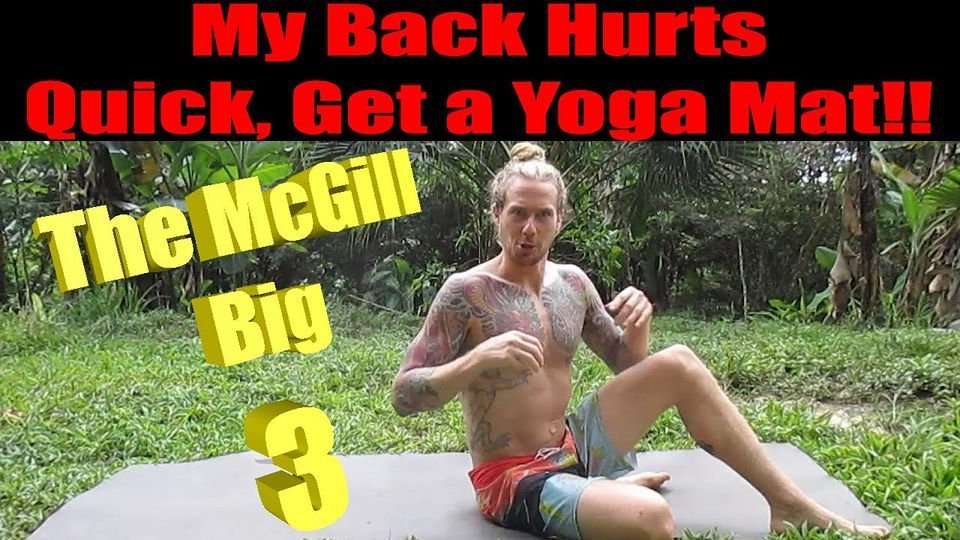
Check my video on the McGill Big Three specific back pain exercises
 Check my Video on the McGill Big Three level 2
I really hope they all help you a ton!!
I have found Chiropractic treatment on top of strengthening the lower back and core to be intricate in improving my back and reducing back pain.
As Always
Wishing You Much
PeaceLovenSeasonalFruit ck


